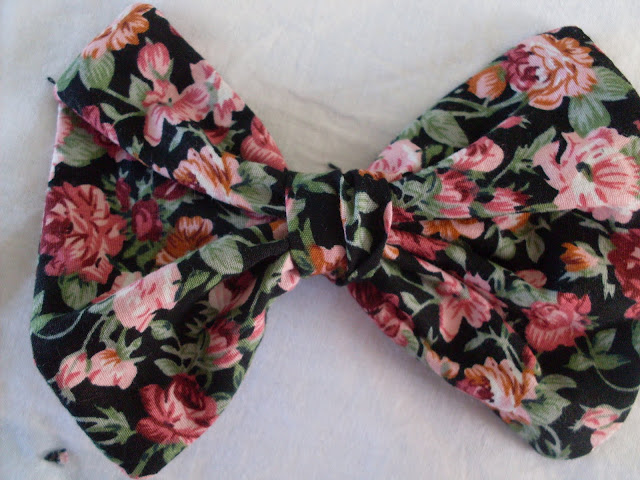
My first ever sewing tutorial! I am going to teach you how to make this adorable bow that can be used for anything. I used it for my hair by simply attaching a bobby pin into the back. This bow is so incredibly cute and it's so easy. Good Luck!

Step 1: Cut out a rectangle from some fabric. It doesn't have to be completely perfect and accurate but it does help the bow sit nicely.The size I used for the smaller bow is 10x14cm. Cut out the rectangle and put the right sides together so the wrong sides are facing upwards like the picture below.

Step 2: Sew along the edges of the rectangle 1cm in. Remember to leave a gap about 5cm long the top so you can fold the rectangle inside out.


Step 4: Cinch the rectangle in the middle, creating the illusion of a bow. This is where the middle tie will be placed to secure it.

Step 5: Iron the sides of a long strip of the fabric so that the raw edges don't show. Tie this around the middle of the rectange and fasten in a double knot at the back.

Step 6: If this bow is for your hair, slide a bobby pin through the back and voila!
You have your bow! I hope it worked out!